Making Black Walnut Dye
- mberghold
- Oct 24
- 3 min read
Making Dye/Ink from our harvest of Black Walnuts
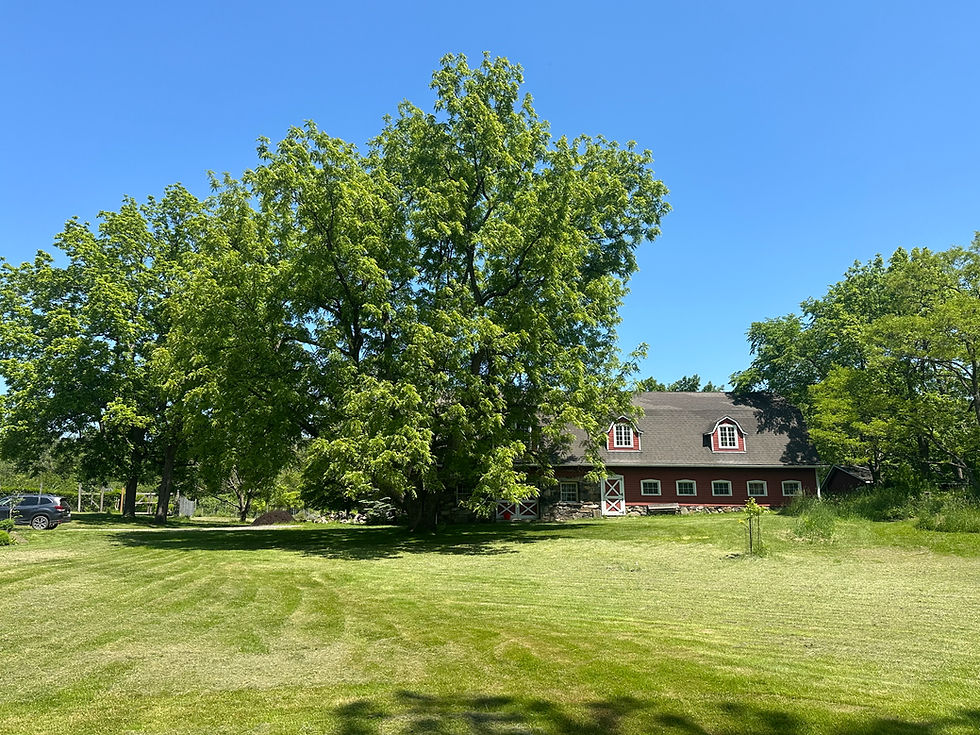
Occasionally I complete turning and sanding a bowl and decide that, while it may have a pleasant form and nice grain pattern, it is otherwise rather bland. Naturally-occuring mineral stains in some lighter species of wood might distract the eye from a graceful form or its dramatic grain. In these cases, I may use a dye that I make from the nuts produced by our prolific Black Walnut trees to color these bowls. The dye is food safe and adds a very attractive rich brown tone to certain types of wood. A few years ago I made some ink this way for a former student of mine who was a talented artist. A friend and neighbor who is a talented weaver also uses Walnut dye on her sheep's wool. (I use "dye", "ink" and "stain" interchangebly here...)
Here’s a step-by-step guide on making black walnut dye. (If you’re in a rush, please check out our 60-second Instagram reel which illustrates most of the process!)
Material Needed
Fresh black walnuts
Large 5-gallon pail
Water
Large pot
Strainer or cheesecloth
Rubber gloves
Alcohol (to inhibit bacterial growth while the dye is stored)

Steps to Make Walnut Dye
1. Harvesting the Walnuts
Collect fresh black walnuts as they fall to the ground. In New York’s Hudson Valley, the nuts usually begin to drop towards the end of September. The husks contain the dye that will be extracted so I try to gather them before the husks disintegrate or the squirrels get to them! I start by filling a 5-gallon bucket with the nuts. Use gloves here.
2. Preparing the Walnuts
I let the nuts sit for about a week. As they are exposed to the air, they will begin to oxydize and turn black. Transfer the nuts to a large pot and fill with enough water to cover the walnuts/husks. Let the harvest sit for a few more days. This softens the outer husks and makes them easier to remove
3. Boiling the Husks
Bring the pot of nuts to a boil, then reduce the heat and let it simmer for about 1-2 hours stirring occasionally. I do this on my BBQ grill's burner. The smell of the slurry at this point is fairly strong and I don't want to risk it frothing over indoors. Let the mixture cool overnight.
4. Straining the Dye
Using rubber gloves remove and discard the solids (husks and nuts) from the brew. Pour the remaining slurry through successively finer filters into a clean bucket. I start with a pasta strainer and then use a flour sifter followed by some cheesecloth. I then reboil the remaining liquid to concentrate the dye. I'm not scientific about this, I generally reduce the total volume by about 30%.
5. Settling
There is usually a fair amount of particulate that remains suspended in the liquid so I give it a day or more to settle. I then slowly pour the dye into a clean container, leaving behind the final dregs.
6. Mold Prevention
I add denatured alcohol (about 5% of the total volume of dye) to inhibit mold growth while the dye is stored. I find that one 5 gallon pail of nuts will yeild about 1 gallon of dye by the time I'm at this step, so I add about 1 cup of alcohol to that.
7. Application
I prefer to store my dye in a sturdy container with a good lid. Make sure that your dye does not freeze. I made this mistake once. My unheated shop got very chilly one February. The dye froze. The glass jar ruptured. The dye left its mark all over the place...Not fun.
8. Storage
I apply the dye to my sanded bowls using a brush, soft sponge or lint-free cloth. Here again, use gloves. I "paint" the whole bowl thoroughly, let it dry, very lightly wipe off the dusty residue with a clean rag, and then repeat the process, reapplying the dye in a different pattern to ensure even coverage. I then oil my bowl as I normally would.


Tips
Always test the dye on a small piece of wood first to check the final color.
Store any leftover dye in a sealed container for future use.
Beware of staining; walnut dye can leave permanent marks on surfaces and clothing.

Comments